Enable FileVault
Added Security With macOS FileVault
12/4/2025


Using this security feature is entirely up to you. And while it may take a few seconds longer to get to your desktop, those few seconds could prove to be extremely valuable!
Enabling FileVault Is Easy
What Is FileVault
FileVault is a built-in encryption tool on macOS that helps protect data stored on your Mac’s internal drive. FileVault makes your data unreadable without the correct password or recovery key. FileVault works at the volume level, meaning all your files, from documents to cached files, are protected. Once turned on, your disk can only be unlocked with a valid password.
FileVault uses strong encryption to make the data on your Mac unreadable without the right key. Once you are logged in, everything works normally. Files open, save, and move as usual, but the data is automatically encrypted and decrypted in the background. FileVault is designed to protect data that is stored on your drive, not data that is moving over a network. If someone removes your internal storage and tries to use it on another device, or starts your Mac from an external drive, the data stays locked unless you have the correct password or recovery key. This makes FileVault a helpful tool for keeping your Mac's data safe.
FileVault Benefits
The main benefit of FileVault is better security in case your Mac is stolen or lost. With encryption enabled, your drive looks like random data until it is unlocked, making it much harder for someone to access sensitive information. FileVault also helps with complying with company rules and best practices. In today's fast-changing world, many companies expect, or even require, full-disk encryption, especially if your Mac has sensitive data like customer information, company secrets, or private emails. For personal users, FileVault provides peace of mind. When you travel with your MacBook or work in public places, it's reassuring to know that if your device is misplaced, your data isn't automatically exposed. Once you set up FileVault, you typically don’t need to do anything else besides keeping your password safe.
Trade Offs And Downsides
Keep I mind, however, there are trade‑offs to consider before you decide to enable FileVault. The most critical risk is data recovery. Should you forget both your account password and your FileVault recovery key, there is essentially no way to decrypt the disk. FileVault is designed so that there is no secret backdoor, so you really should make a plan for storing the recovery information in a safe place.
Performance is less of an issue than it used to be, but it is still worth mentioning. On recent Macs with SSDs and dedicated security chips, the impact is usually small enough that most users never notice. If you are using older hardware (like HDD) or systems under very heavy disk load, you might see slight performance degradation during sustained read/write operations. There are also minor usability implications. Since your disk is locked until you authenticate at startup, remote access tools are limited until someone has physically logged in.
How Do I Enable FileVault
Turning on FileVault is a one-time setup that takes just a few minutes. The initial encryption might take longer in the background
1 - Sign in to your Mac using an administrator account. If you normally use a standard account, log into an admin profile or temporarily change your account before starting.
2 - Click the Apple menu in the top-left corner and open System Settings.
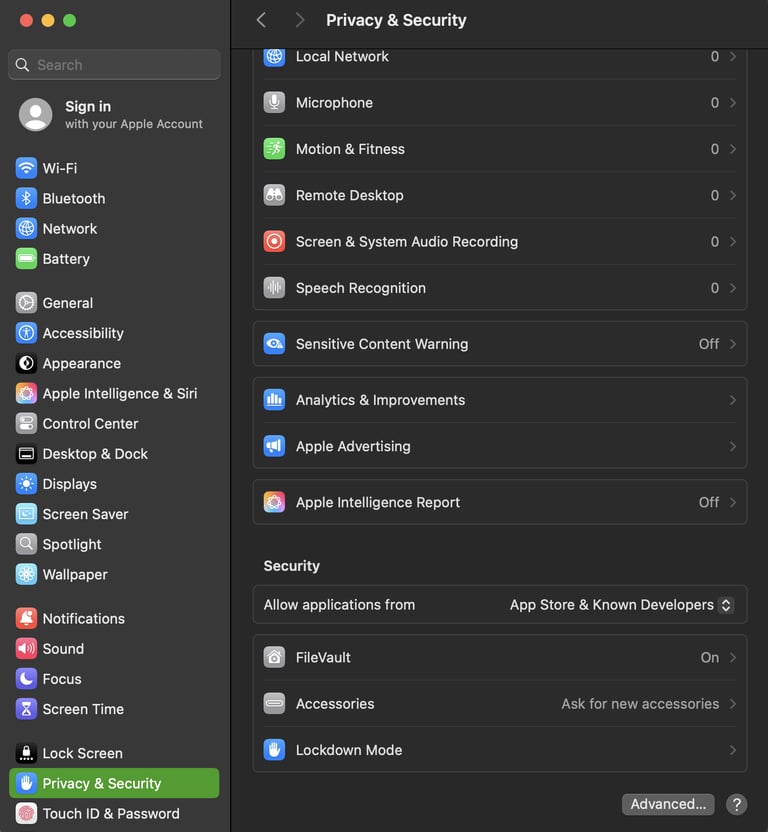
3 - In System Settings, go to the “Privacy & Security” section in the sidebar. Scroll down until you find the FileVault section. Click on the FileVault section to see its status. If it's off, click the option to turn it on.
4 - You might be asked for your Mac login password to confirm the change.
5 - Choose how you want to handle recovery: If you're okay with recovery tied to your Apple ID, select the option that lets your iCloud account help unlock the drive and reset your password. If you prefer a separate recovery method, create a recovery key. When the key is displayed, copy it carefully and store it somewhere safe, like a password manager, a locked document, or a secure physical location. Don’t leave it only on the Mac you're encrypting. Confirm your choice and continue.
6 - The system will turn on FileVault and start encrypting your disk. This process can take a few minutes or several hours, depending on how much data you have or your Mac's speed. It's a good idea to keep your Mac connected to a power source while encryption is running. You can keep using your Mac during encryption as the process runs quietly in the background.